Best for
Faster or more controlled tooling changeovers
Press Brake Upgrade
Tool standard, loading direction, tool weight and changeover frequency determine the clamping method. Match the holder, ram and pressure source before installation.
Best for
Faster or more controlled tooling changeovers
Compare
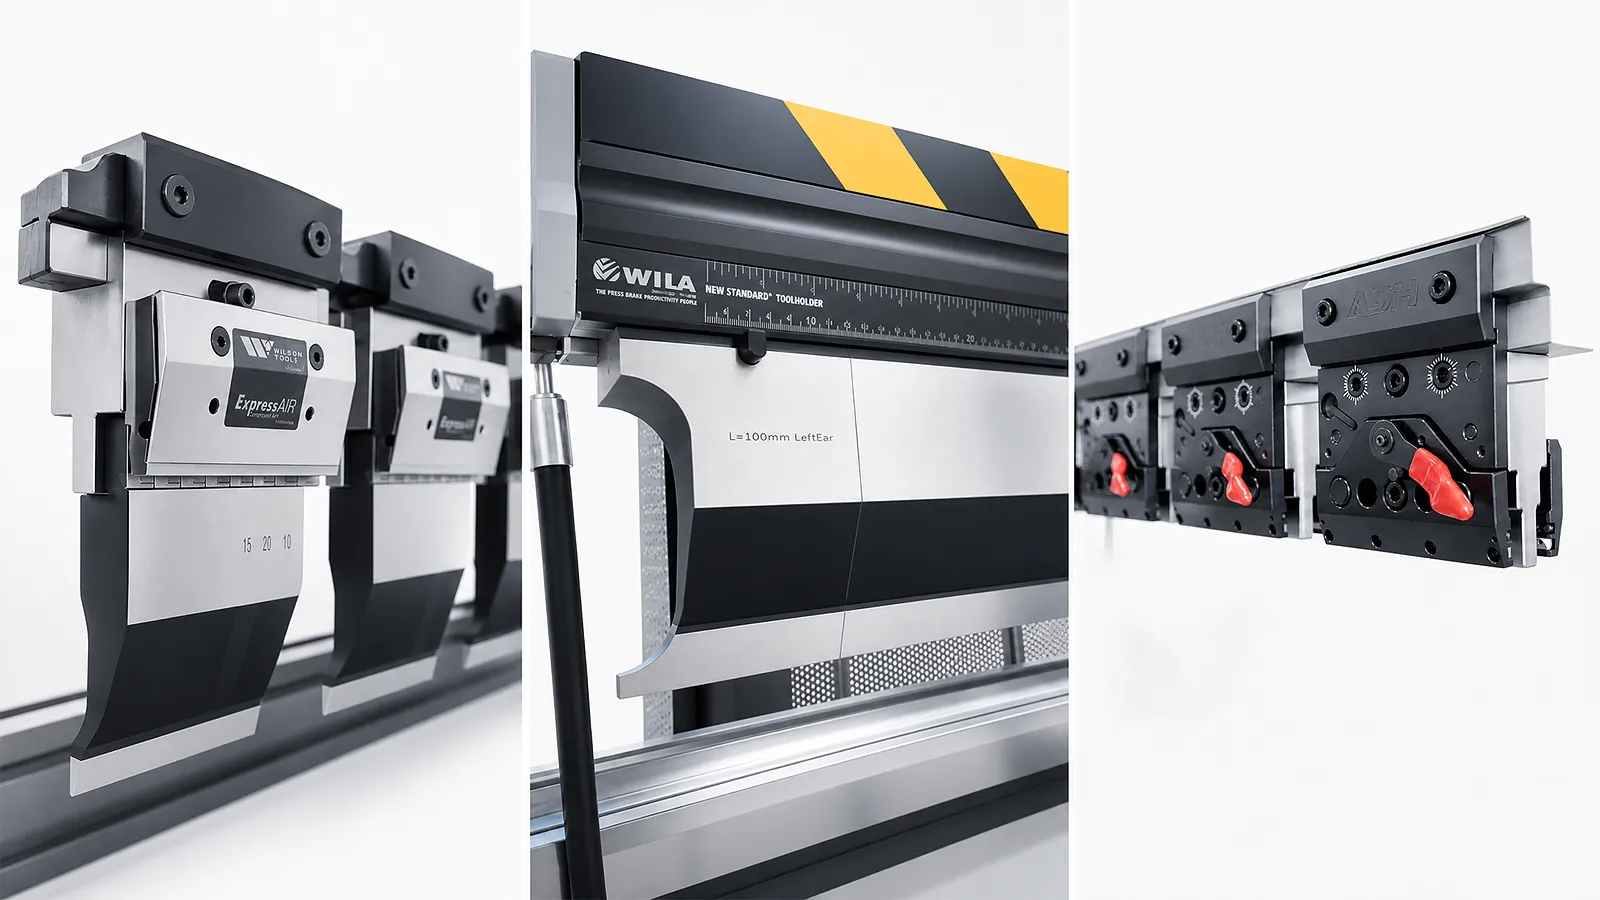
Quick, pneumatic and hydraulic clamping
Confirm
Tool tang, holder, length and machine interface
Information Needed
Describe punch tang, segment length, tool weight and the holding method required.
01 / TOOLING
Document punch tang, segment length, vertical or horizontal loading and retention method.
02 / CHANGEOVER
Describe frequency, tool weight, operator tasks, alignment, segmented tooling and automated-change needs.
03 / RETROFIT
List holder/ram geometry, available height, hydraulics or pneumatics, controls, guarding and tests.
Clamping options
The right method follows the tool interface and setup task; compare options under the same tooling and operator conditions.
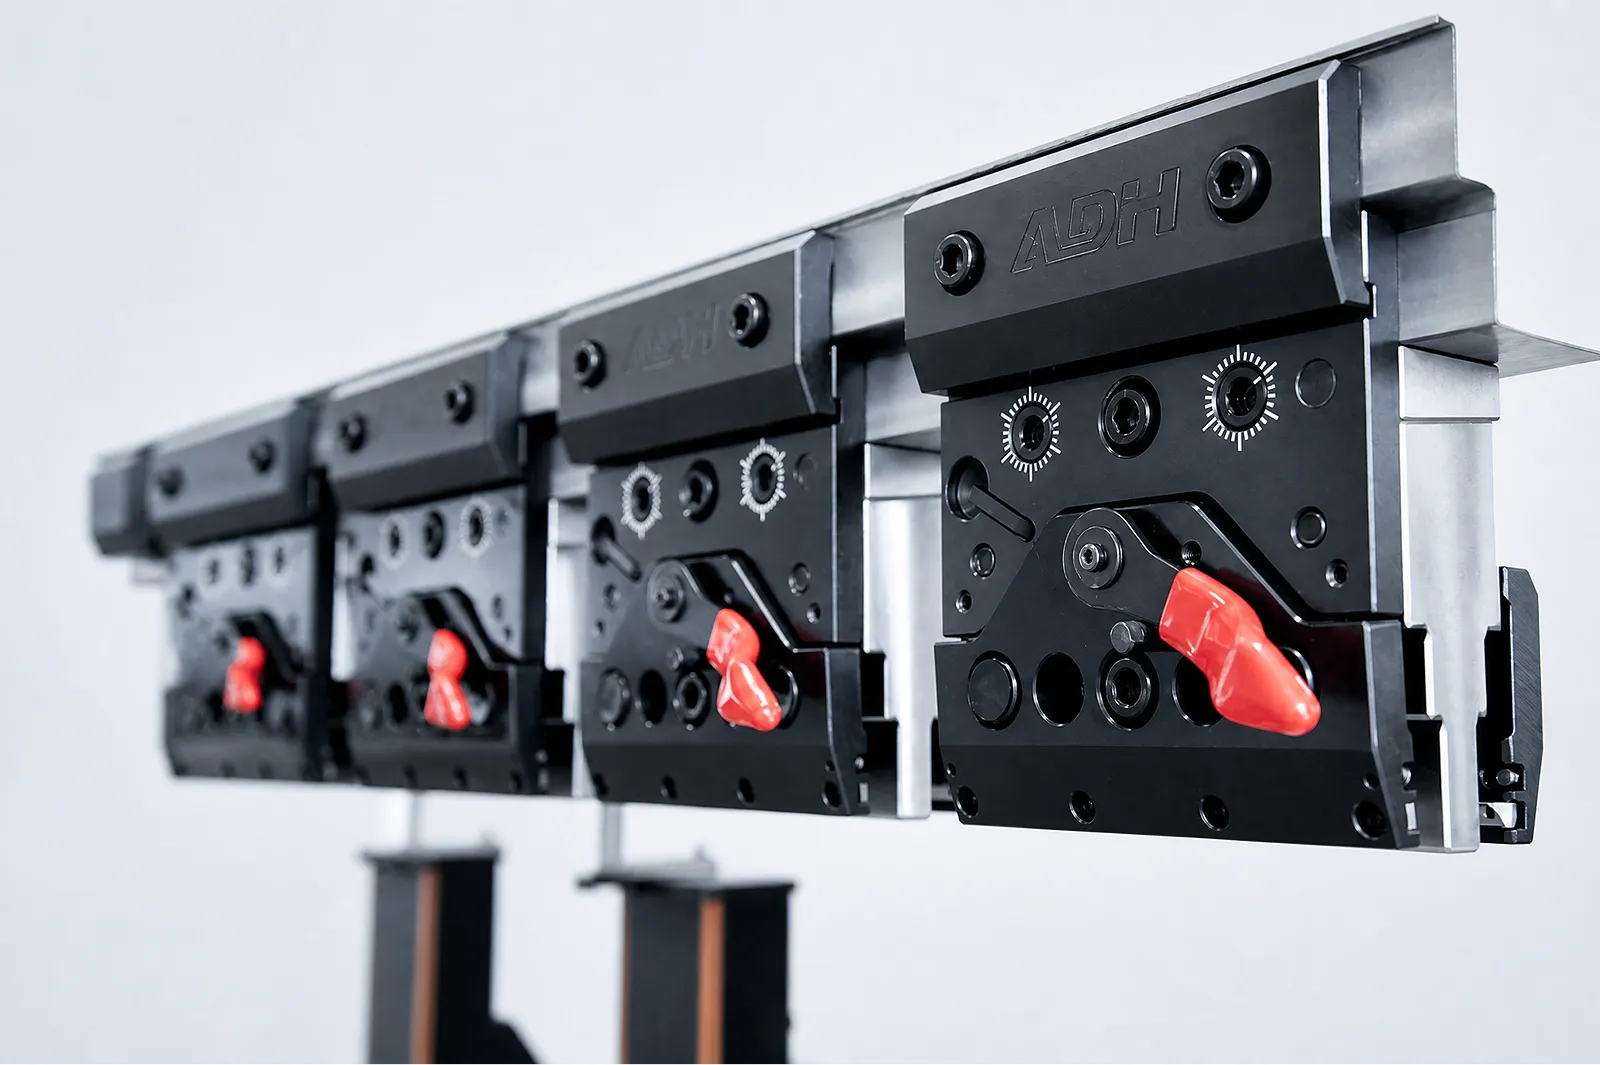
Check the tool tang, loading direction and retention method for the double-sided quick clamp.
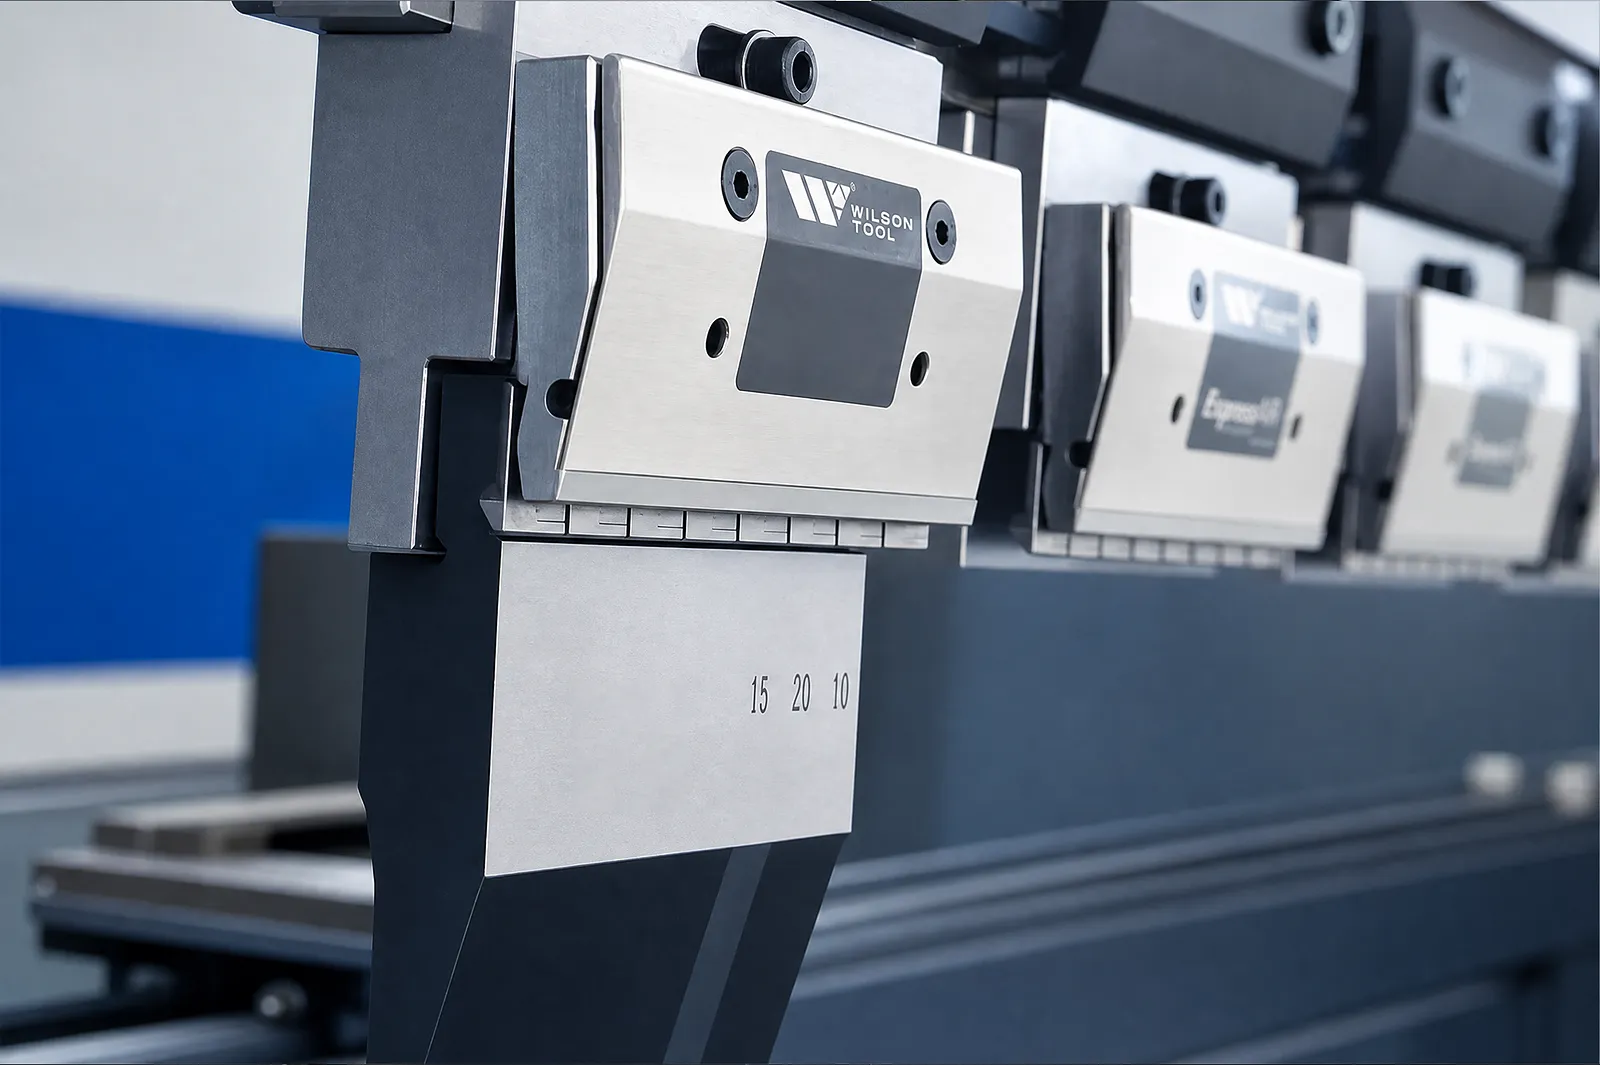
Match the Wilson clamp to the tool standard, air supply and machine interfaces.
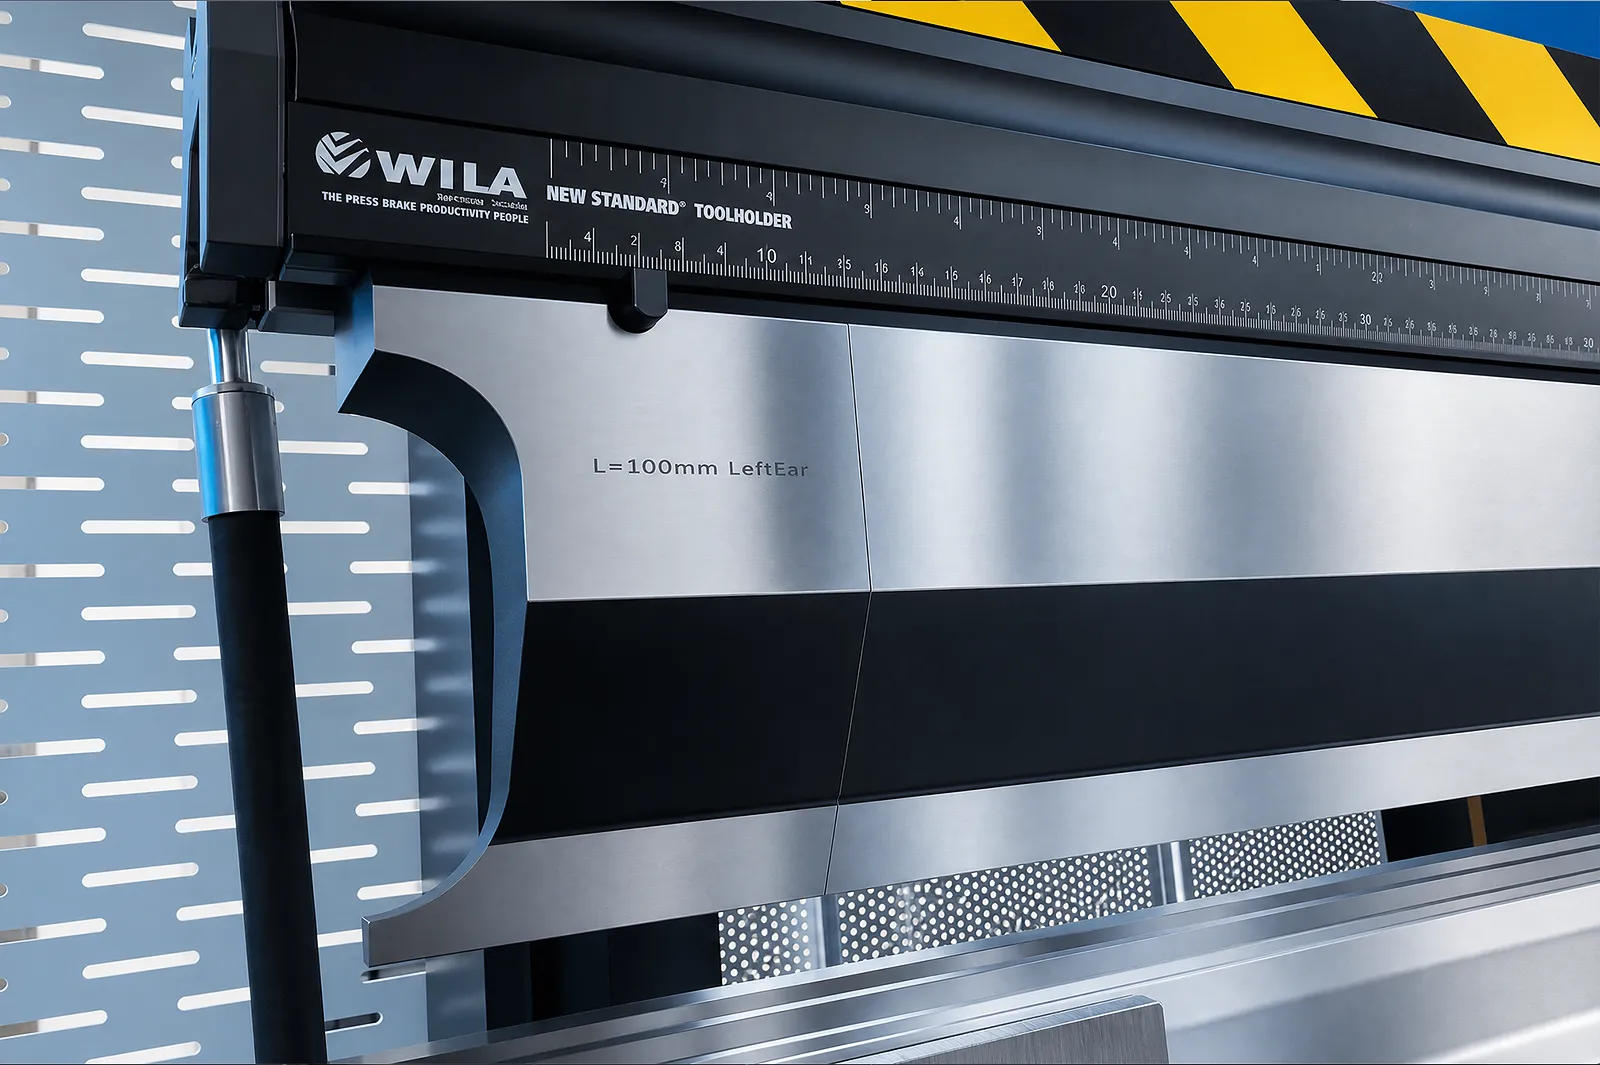
Match the WILA clamp to the tooling, hydraulic supply and machine interfaces.
Before You Order
Punch tang, holder, ram, pressure source and changeover method must form one compatible tooling stack.
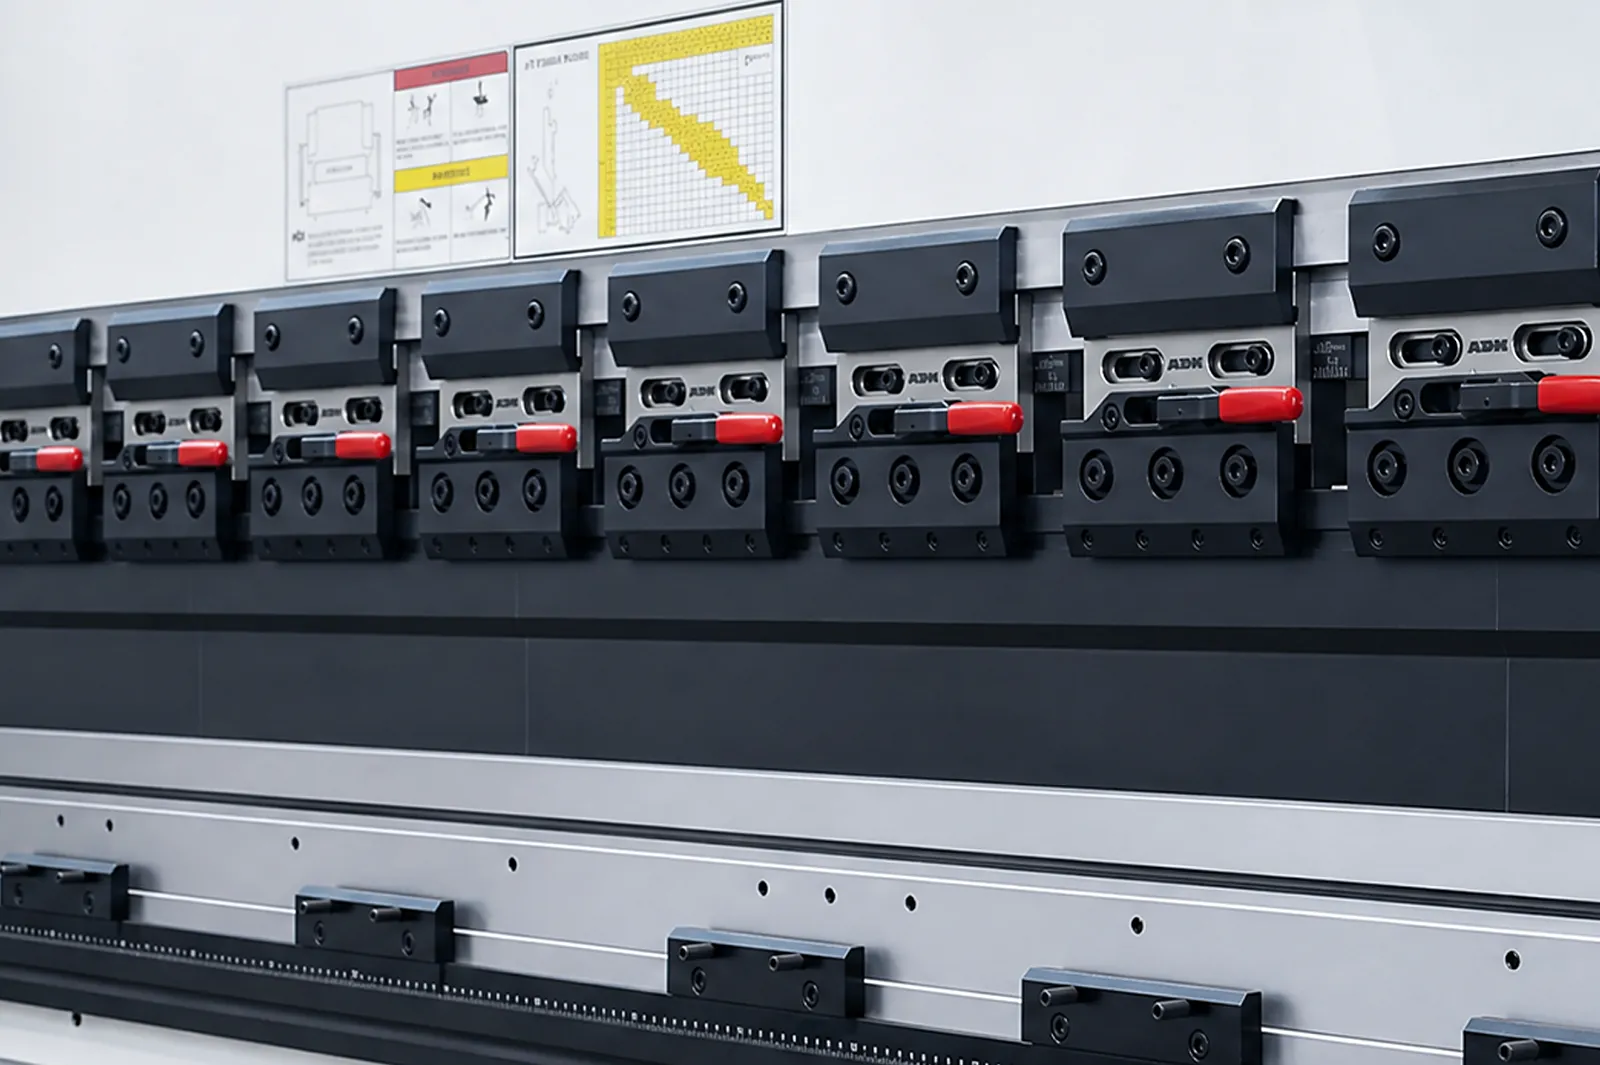
Upgrade path
Identify the production problem, check compatibility, then agree installation and acceptance.
STEP 01
Record machine, controller, interfaces, photos, workflow and the production issue to solve.
STEP 02
Connect workpieces, process, operator tasks, output and site conditions to the upgrade.
STEP 03
Review mechanical, electrical, control, software, safety and service interfaces.
STEP 04
Define installation, tests, acceptance, documentation, training and support responsibilities.
Before You Contact ADH
Compatibility depends on ram and tooling interfaces, tool profile, load, changeover method and application.
Check holder geometry, tool tang, available height, pressure source, controls and loading method.
Send model, current holders, tooling drawings, changeover workflow, tool lengths and ram-interface photos.
Compare ram interface, tooling profile, rated load, connection and changeover procedure.
Name clamping method, hardware, tooling interface, installation, tests, training and service terms.
Project enquiry
Tell us what you want to make or improve. Technical details and drawings can follow.
Contact ADH
Name, email and a short description are enough to begin.